
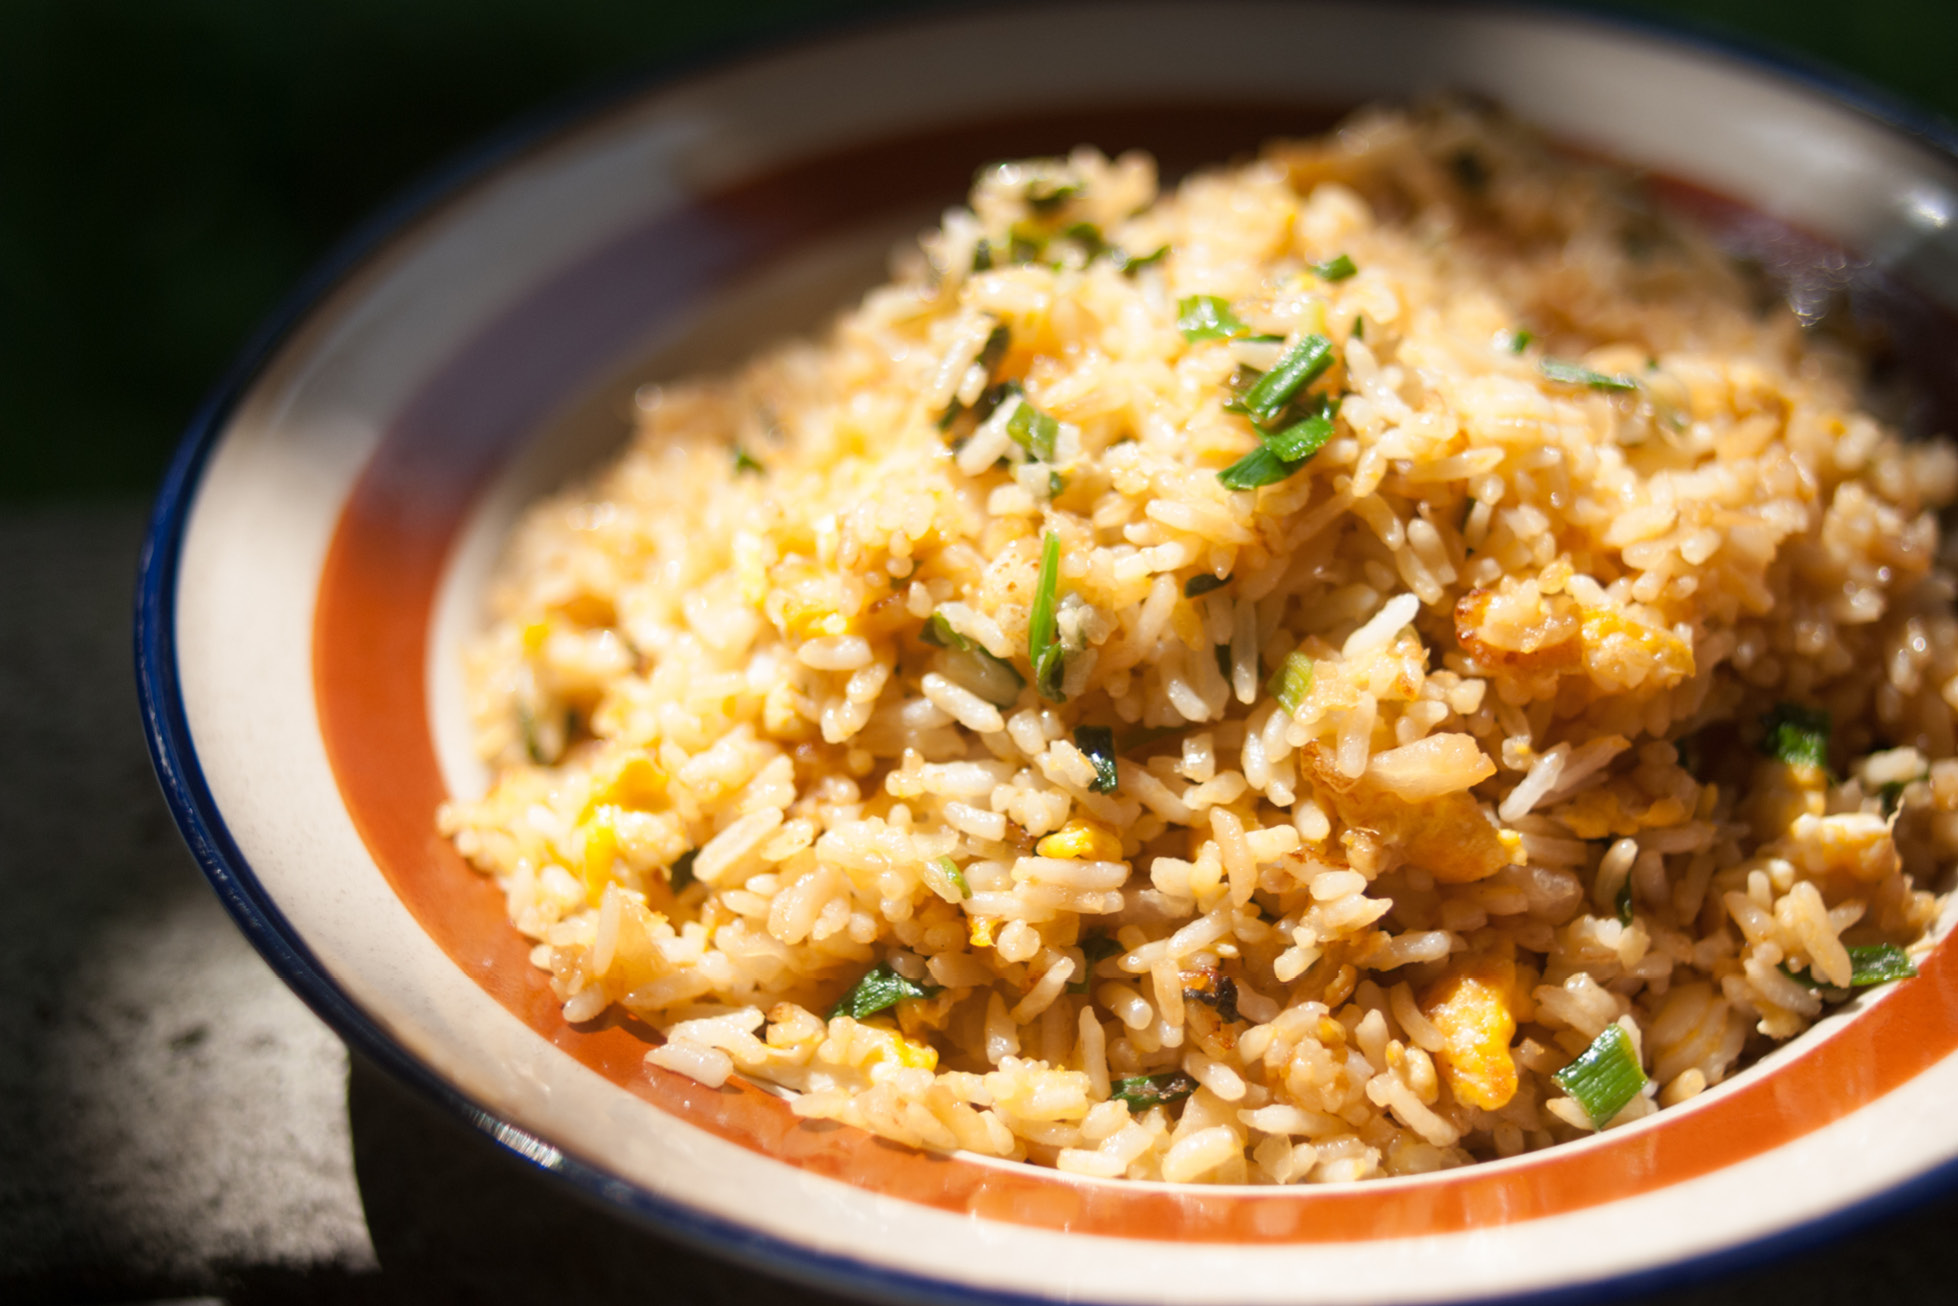
This delicious Japanese garlic fried rice recipe has become an Elldrew favourite during lockdown. We prefer to make too much so that we have leftovers but, be warned, it’s garlicky, but like any dish, you can reduce the amount of garlic if you plan on kissing anyone that night!
To make any fried rice you need to use day old rice that has been stored in a sealed dish in the fridge over night – this allows the moisture to dry out otherwise you end up with soggy fried rice! You can make this garlic fried rice recipe with any rice; the best/authentic recipe for this dish uses Japanese short grain rice. We used Yumenishiki short grain rice from our local supermarket.
Now this is a bit of a long blog, but whilst it’s detailed it is a simple recipe, so we have broken the recipe into the following stages:
- Preparation of rice (day prior)
- Cooking the fried rice (next day)
– Garlic chip garnish (optional)
– Rice sauce
– The fried rice
To work out quantities, for two people we use ½-1 cup of Japanese dry rice, for four people 1½-2 cups of dry rice (1 cup of dry rice will make approximately 2 cups of cooked rice). For either of these amounts we don’t adjust any of the other ingredient quantities, except maybe the eggs, as it always seems to work itself out.
Preparation of rice (day prior):
If you’re using normal rice then just cook the rice in your preferred way and skip this stage.
If you’re using Japanese rice then you want to follow the authentic way of cooking it. Traditionally it’s cooked in a special clay or cast-iron rice pot but any stove-top pot with a tight-fitting lid will work. (Elldrew use a small Le Creuset casserole dish)
- Measure rice grains and pour into your cooking pot.
- Fill the pot with enough cold (preferably filtered) water to cover the rice and use your hand to vigorously swish the rice around quickly. Immediately pour out the water using a sieve, which will be cloudy with starch. Then repeat this step 3 to 5 times using tap water (you really only need filtered water for the first rinse as the rice absorbs it), until the water being poured off is almost clear, this removes most of the surface starch so that the cooked rice is not too sticky.
- Pour the rice into the sieve and let the excess water drain away. Transfer the rice back to the cooking pot.
- Now add fresh cold water to cook the rice in. For each cup of dry rice you will need 1 cup + 2 tablespoons of water. Add the water to the pot.
- As an optional step, you can let the rice sit in the water for at least 10 minutes (preferably for at least 30 minutes, up to half a day), which will allow the grains to absorb the water and cook more evenly. If you are short on time, this soaking step can be skipped.
- Set timer for 12 minutes.
- Over high heat, bring the covered pot to the boil (about 3-5 minutes). Listen for the chattering lid, look for escaping steam or other indicators that the water is boiling. Don’t lift the lid to peek inside!
- Reduce the heat to low and let the rice cook for the remaining 7-9 minutes, until the timer rings and the water has been absorbed. Listen for the hissing and crackling that indicates the water has been absorbed.
- Remove the pot from the heat and let it rest, DO NOT remove the lid (do not touch the lid, do not lift the lid, do not pass go, do not collect £200!), for 10-20 minutes. This step is essential for getting the correct texture and cannot be skipped.
- After 20 minutes remove the lid and gently stir the rice with a paddle, transfer it into a sealable container and let it cool, for around an hour, before placing into the fridge.
[Cooked rice should be placed in the fridge no longer than 2 hours after cooking as it can start to breed bacteria]
Cooking the fried rice (next day):
Garlic chip garnish (optional) – this bit can be skipped if you can’t be bothered:
- 5 cloves of garlic (half a bulb), thinly sliced
- Unflavoured cooking oil (rapeseed, corn, vegetable oil etc)
- Put a generous amount of oil (enough to submerge the garlic) into a cold wok.
- Turn the heat to medium and drop in your garlic slices.
Note: You start the garlic in cold oil so it comes to temperature evenly. - Once it’s sizzling, turn heat to low and fry the slices, moving the garlic around frequently, so it doesn’t burn.
- Once light blond/golden and crispy (you’ll know the garlic is done when the oil stops bubbling around the edges), remove garlic from the hot oil so they don’t burn and turn bitter.
- Drain on kitchen paper towel and set aside for later, leave the oil in the wok to cool slightly and use again for the main fried rice cooking.
Rice sauce:
- 2 tbsp Japanese soy sauce (or light soy)
- 1 tbsp sugar
- 2 tbsp mirin (Japanese rice wine)
- 1 tbsp oyster sauce
- 1 tbsp toasted sesame oil
- 1 tsp fish sauce
- Mix all the ingredients together and set aside.
The fried rice (based on a 4-person serving):
- 5 cloves of garlic (half a bulb), crushed
- Unflavoured cooking oil (rapeseed, corn, vegetable oil etc)
- 20g of butter
- 2-3 eggs, beaten
- 1 cube of chicken stock powder
- ½ teaspoon of salt
- 4 stalks of spring onion – chopped into small pieces
- 1 tbsp of white pepper
- The cooked rice from the previous day
- Using the cooled oil from the garlic chip garnish, or if you haven’t made this then use cold oil, placing the crushed garlic in the wok (the oil should just cover the garlic) and heat on medium.
- Once sizzling, turn heat to low and fry the garlic, stirring frequently, removing as soon as the garlic turns lightly golden. Set aside.
- Pour out the oil, leaving approx. 1 tablespoon in the wok.
[If you keep the residual oil it’s now garlic oil and can be used for all sorts of yumminess] - Add the butter and melt, over a low-medium heat.
- Pour the beaten egg mixture into the wok and swirl around so it coats the wok. Cook eggs, stirring and scrambling, until about 80% done. You need some undercooked egg liquid still left to coat the rice.
- Add in the cooked rice and stir into the egg mixture.
- Turn up the heat to medium-high and push the rice around to break up any lumps, tossing frequently to stop any burning. Stir fry until the rice is loose and a beautiful yellow colour.
- Crumble in the chicken stock powder and add the salt. Stir and add the fried minced garlic, stirring until it’s all mixed and the rice is as dry (or moist) as you like it.
- Once it’s more or less ready drizzle the sauce (that you made earlier) around the rim of the wok, into the rice. The heat from the side of the wok helps caramelise the sauce before it hits the rice.
- Add the pepper and stir until everything’s evenly coated.
- Add the spring onions, toss and stir for 30 seconds or so until you can smell the flavour of spring onion, remove from heat and serve the fried rice with the garlic chip garnish (if you made them) on top. Enjoy!
For more recipe inspiration check us out.